
You can effectively clean gritty pool tiles using a simple mixture of equal parts white vinegar and water, which naturally dissolves mineral buildup without damaging surfaces. Apply this solution with a soft cloth while wearing protective gloves and goggles, working methodically across the waterline. For stubborn calcium deposits, use plastic scrapers or pumice sticks. Regular maintenance, including weekly pH testing and brushing, will help prevent future buildup. Uncover more techniques to keep your pool tiles sparkling year-round.
Natural DIY Solutions for Sparkling Pool Tiles
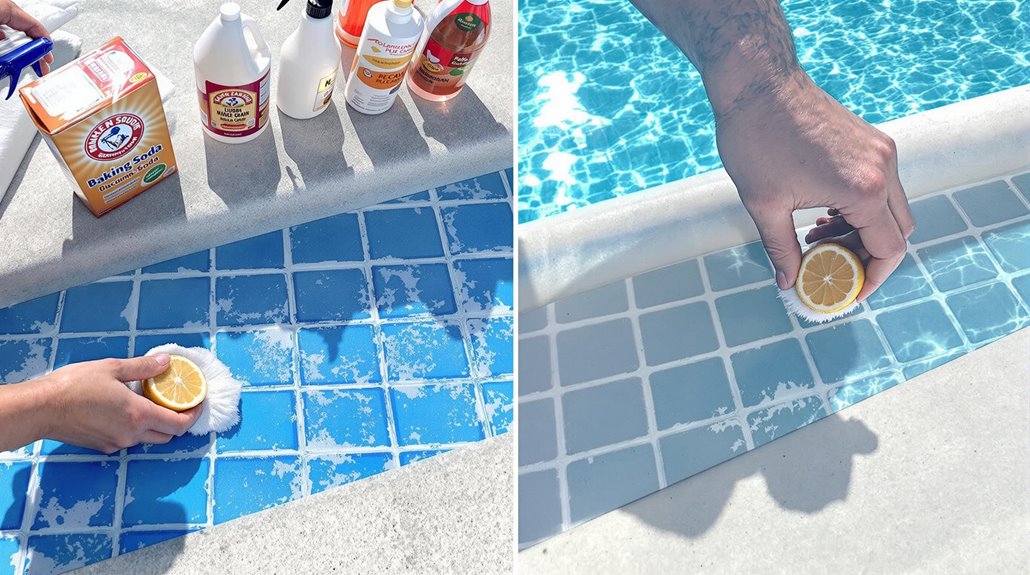
A natural approach to pool tile cleaning can save you money while being gentler on your pool’s surfaces. You’ll find that one of the most effective DIY solutions involves creating a simple mixture using ingredients you likely already have in your kitchen.
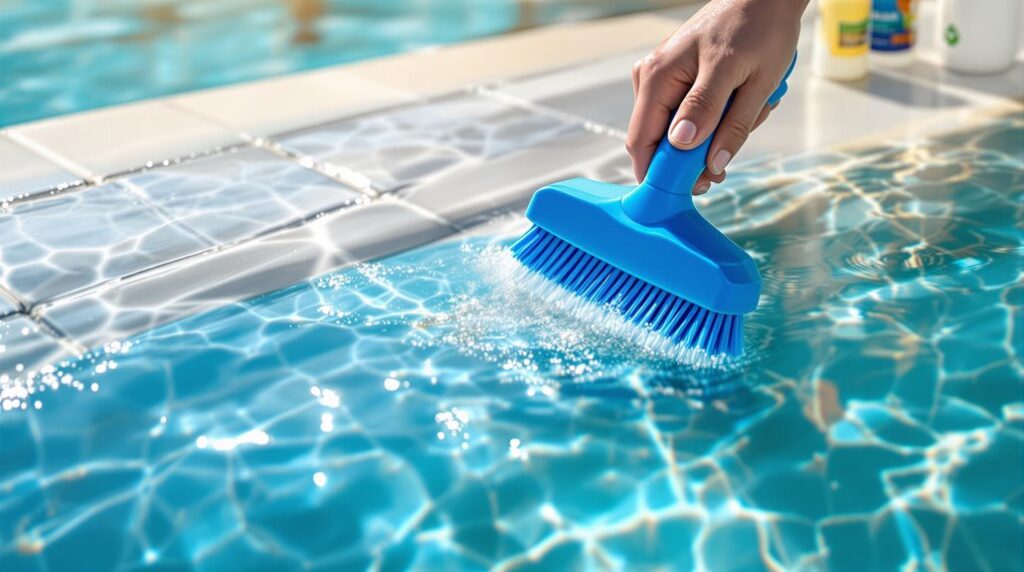
To tackle stubborn calcium deposits on your pool tiles, you can create a powerful yet safe cleaning solution by combining equal parts white vinegar and water. This natural acid mixture works effectively to dissolve mineral buildup without damaging your pool’s surfaces. At the time of applying the solution, use a soft, clean cloth rather than abrasive materials that might scratch the tiles. You’ll want to work methodically across the tile surface, ensuring even coverage of the vinegar solution for best results.
Essential Tools and Safety Equipment You’ll Need
To guarantee both safety and effectiveness while cleaning your pool tiles, you’ll need to gather specific tools and protective equipment before starting the job. Start with chemical-resistant gloves and protective goggles to shield yourself from harsh cleaners and splashes.
For cleaning tools, you’ll want plastic scrapers and pumice sticks to tackle calcium deposits, plus walnut pads or melamine sponges for general scrubbing. Don’t forget angled brushes and grout brushes for those hard-to-reach spots between tiles. Keep pH test strips handy to monitor water chemistry, and store your cleaning solutions in acid-resistant containers.
For tough jobs, you’ll need specialized cleaners such as tile sprays or muriatic acid dilutions. Remember to wear old clothes that can handle potential stains from chlorine or cleaning agents.
Step-by-Step Cleaning Process for Stubborn Stains
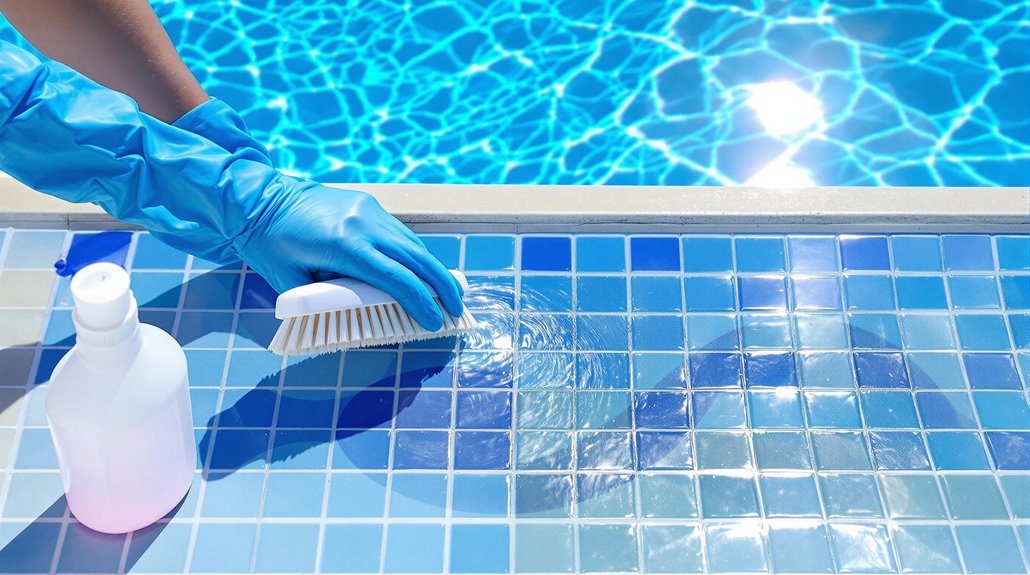
Following effective preparation, you’ll need to focus on tackling those stubborn stains that have built up on your pool tiles. The initial vital step is to lower your pool’s water level just enough to expose the waterline tiles completely. This strategic adjustment provides you full access to the problem areas without having to reach awkwardly or work underwater.
Once you’ve lowered the water level, you’ll have a clear view of all the mineral deposits, calcium buildup, and other stubborn stains that need attention. This unobstructed access guarantees you won’t miss any spots while cleaning. Make certain you can reach all the tiles comfortably from your position on the pool deck, since proper positioning will help you apply even pressure when scrubbing and achieve more consistent results.
Preventive Maintenance Tips to Keep Tiles Clean Longer
Keeping your pool tiles pristine requires far less effort once you’ve established smart preventive practices. Start by maintaining proper water chemistry, testing pH weekly and keeping it between 7.2-7.8. You’ll want to control calcium hardness at 200-400 ppm and total alkalinity at 80-120 ppm. Implementing proper safety measures around the pool area helps protect both swimmers and tile surfaces.
Don’t skip your weekly brushing routine – use a soft brush to scrub the waterline where minerals tend to accumulate. Make it easier on yourself by applying protective sealants every 3-6 months, ensuring you’re using products specifically designed for your tile type. For extra protection, combine these sealants with anti-slip treatments. Beginning your pool preparation early in spring ensures your tiles stay cleaner throughout the swimming season. Regular filter maintenance helps prevent debris from settling on tile surfaces and causing stains.
Schedule annual professional inspections to catch potential issues early, and while treating problems, avoid abrasive cleaning methods that might damage your tiles’ surface. Regular monitoring of your pool’s pH balance helps prevent mineral buildup and scale formation on tile surfaces. Consider including your heating system maintenance in your regular cleaning schedule to maintain optimal pool conditions.
Frequently Asked Questions
How Long Should I Wait After Cleaning Before Swimming in the Pool?
Wait times after pool cleaning:
- Shocking: 24-48 hours
- Algae treatment: 4-6 hours
- Routine maintenance: 30 minutes
Test chemical levels before swimming.
Can I Mix Different Natural Cleaning Solutions for Better Results?
Never mix natural cleaning solutions. Combinations can create harmful fumes or cancel out cleaning effects. Use single solutions with proper dilutions for safe, effective cleaning.
Will Cleaning Pool Tiles Affect My Pool’s Ph Balance?
Yes, acid-based cleaners affect pool pH. Test pH before and after cleaning. Use pH-neutral cleaners when possible.
How Often Should I Replace My Pool Cleaning Brushes and Tools?
Nylon brushes: Replace every 4-5 years
Wire brushes: Replace every 2-3 years
Scrubbing tools: Replace when worn, frayed, or rusted
All tools: Inspect monthly
Do Different Types of Pool Tiles Require Different Cleaning Frequencies?
Natural stone tiles: clean monthly
Ceramic tiles: clean quarterly
Glass tiles: clean bimonthly
Adjust frequency based on climate and pool water conditions